
Sharon was incredibly helpful and patient and don't even get me started on how unbelievably talented she is! She's so friendly as well, the whole class just had a blast.
Because of our schedules, we took her Basic Intensive class last November. And since we are not as confident to take any of her advance classes just yet, we wanted a simple class that covered all the basics.
You would think that a Basic Intensive class would be pretty easy. It's not.
It's intense. It's work.
But it was fun. It was really fun. Like a-kid-in-a-candy store kind of fun. Hehe.
Here's a brief overview of how we did the cakes.
First up... Levelling and GANACHING. I'm gonna be using this word a lot. Ganaching. I like this non-word. Don't judge me. Same with CAKE-ing. I like them both.
Whoever said that ganaching a cake was easy must be the most optimistic and happiest person in the world. It's messy and a lot of work and if you're OCD you'll be spending a lot of hours on this step just to get it right.
But, if you want those awesome (Australian style) razor-sharp edges on your cake, you MUST MUST use ganache and perfect this stage. It's the most ESSENTIAL step of the process and if you mess it up you're gonna have a bad time.
Take your time, put on some soothing music and ganache your cakes away!
I wasn't able to take photos of our ganaching during our class (because I forgot and I THINK I was listening intently... I'm such a goody-goody teachers pet). Not Quite Nigella shows a great step-by-step look on how to properly ganache and cover cakes Australian-style on here blog.

There's carpentry involved if you're going to use wooden boards and dowels. Don't be afraid of tools. Love it! You'll feel all macho and bad-ass afterwards.
We levelled and filled our cakes and put them on top of their boards. Now, this is important. Have a board on top that's EXACTLY the same size and shape as your bottom board so your cake is straight and un-wonky.


Believe me, I didn't follow this exactly, I made a round cake and measured the board by hand, both of them and after ganaching the cake it cake out all wonky. Very bad. If you can get them the same size always from a shop or somewhere then good for you. Bad for us here in the Philippines where we make our own boards. There's a business opportunity behind this misery. I shall look upon that.

The ganached cake really helps when it comes to covering. The cake is much more sturdy and the ganache is rock hard there's no destroying it in the right temperature. As usual, using 2 cake smoothers and acetate, you buff out the imperfections and create that razor-sharp cake edges.

I love it! Razor-sharp cake edges are beautiful!
OH.MY.GOD. Ganaching a square cake is tedious! TEDIOUS! oh my. Getting those edges sharp is a challenge and covering it is even a greater challenge.

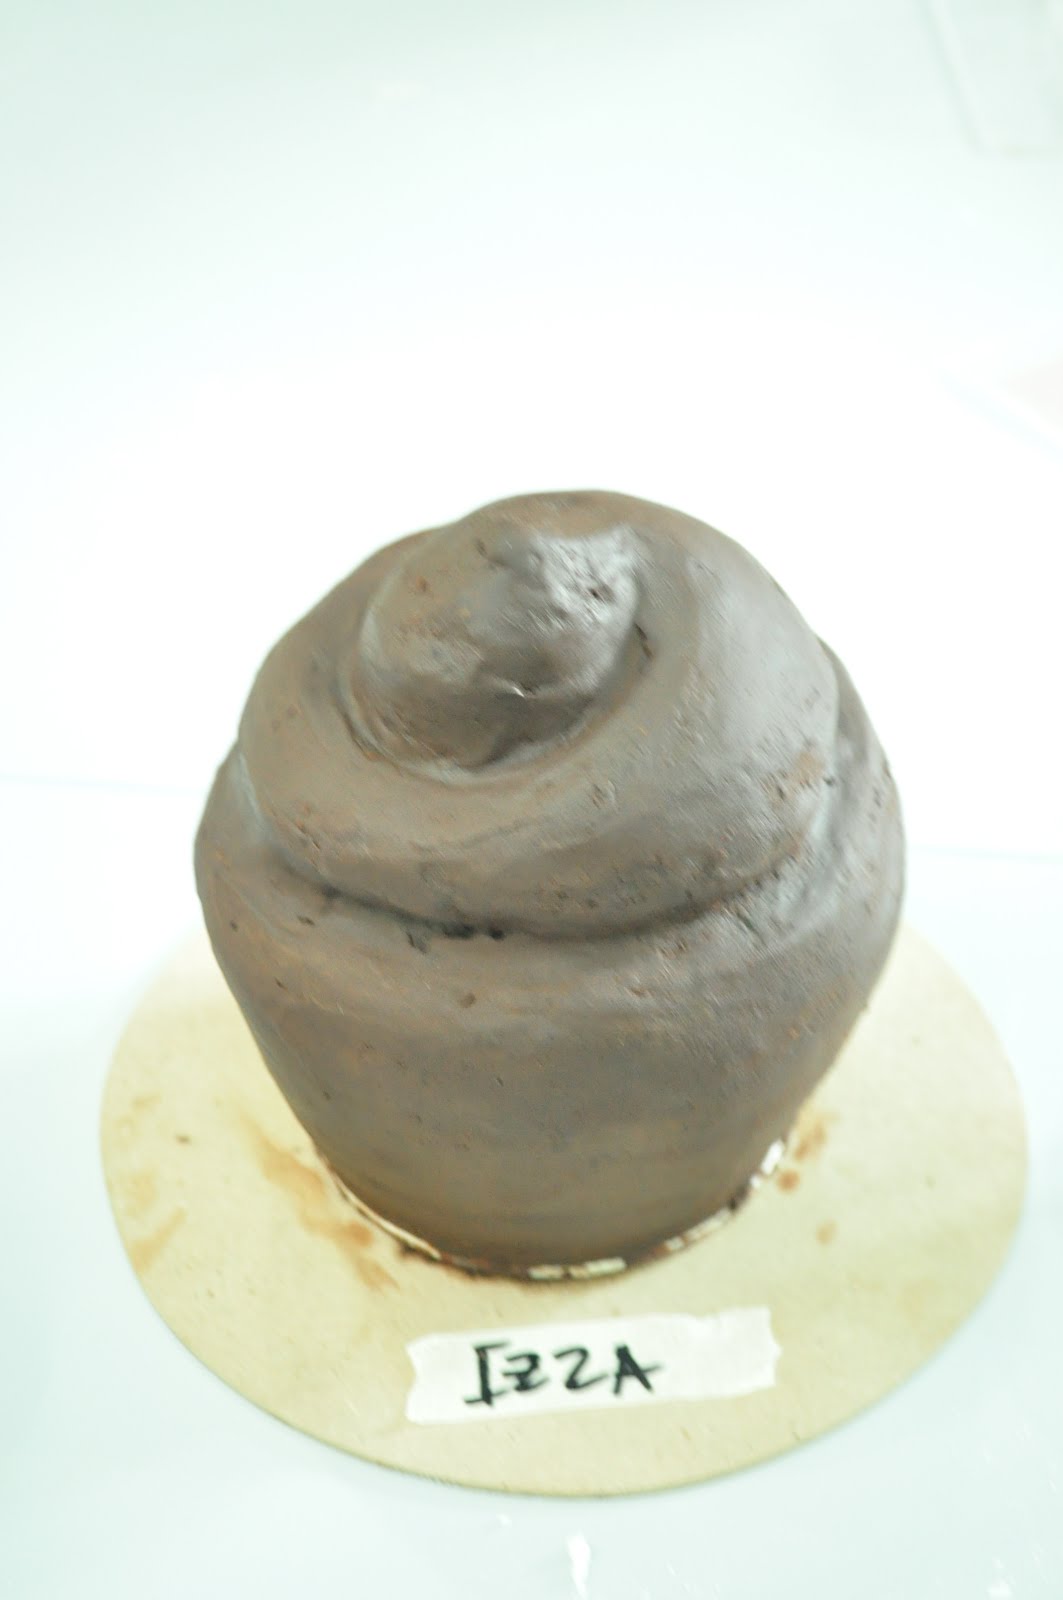
We also learned how to carve a giant cupcake and ganache an irregular shaped cake. This was new to me and a refreshing way to make a giant cupcake since all my giants are baked on a mold.


After ganaching the cakes, we had to hot knife the ganache to make sure every surface is smooth, covering them is such a breeze and we had a lot of fun decorating them.


We left the ganached cakes for at least 12 hours or overnight to set in an air conditioned room which is very essential given that you're working with chocolate. The next day we covered all our cakes with fondant, made the stripes and the decorations, etc. This is where the fun begins!

After covering there comes the stacking. This cake wasn't a normal center stacked cake. The 2nd layer was stacked a bit off-center to make way for the bow.


I just got introduced to this brand and SUGARFLARE gel colors ARE.THE.BEST. Hands down! I love love love it! I used the bitter lemon lime for my square cake and the claret color which I fell in love with for the bow.

During the last day of class, we did the gumpaste figures and all the other decorations like the bow and the pearls and of course covering the cake board with fondant.


At last our finished cakes! Three full days of non-stop cake-ing and decorating and we're done!


The best thing about taking classes like these are the people you meet. Our classmates who are also there with you taking on every class challenge and going out of their comfort zone and thinking out of the box to create their best works.

Our teacher, Sharon who was as supportive and very very helpful and never hesitating to answer questions about her work. Troubleshooting the cakes whenever there's a problem with your work became easier with her help. We learned a lot from her. Making new "cake" friends is amazing. It's great to meet people who are also on their cake decorating journey and just having fun and learning.

And of course our hosts, Artistiq Sugarcraft who were so accommodating and so happy-go-lucky and whose passion for cake-ing and decorating and finding ways for all of us to experience the opportunity to take classes with amazing and talented decorators. Awesome awesome!

You can check out Artistiq Sugarcraft's classes in Singapore at their website www.artistiqsugarcraft.com or their Facebook Page.
Here's their contact information below:
Artistiq Sugarcraft Pte Ltd
19 Mackenzie Road #02-02
Singapore 228678
Tel: +65 62388806 Fax: +65 62388807
www.artistiqsugarcraft.com
For enquiries:
enquiries@artistiqsugarcraft.com


2 comments:
Lovely post. Brought back fond memories!
R
Ciao Flibby and greetings from Northern California. I am of the opinion that cupcakes make this world a happier place to be. Doesn't it seem that people are always joyful when eating a cupcake. So kudos to you for making life a little better for everyone, one cupcake at a time. And now you are teaching others how to go out and make a little "happy" for others. Bravo!
I also write a blog. I write a blog about food but with my reflections on relationships, friends and family. Please visit. Maybe follow. That would be cool.
Post a Comment